
Downloading and installing Band-in-a-Box for Mac packages.
As of June 2022, an Install Manager is available, which is easier than downloading the files individually as discussed in the tutorial below. More info here.
This tutorial contains some instructions and tips for downloading Band-in-a-Box packages with a lot of RealTracks. This is especially useful for people who purchased a 'download-only' (e-delivery) version of the UltraPAK for the first time, since there are over 100 GB of files to download and install.
Even though the UltraPAK is large, downloading should be straight forward if you take a few moments beforehand to prepare and understand the process, and assuming you have a reliable broadband internet connection and enough hard disk space available. If you selected the download-only option during checkout and are having trouble getting your files, you could contact us to have a physical copy shipped.
Last updated: Monday, 05 December 2022
Where to download your order
After you place your order, click on the link(s) in your order confirmation email to go directly to your Downloads page for each product. Note: For orders placed prior to March 2021 you can access the downloads on your 'My Products' page by logging onto your account at www.pgmusic.com.
For a Band-in-a-Box order, there are multiple files to download. For large packages like the UltraPAK there are a lot of files, totalling over 100 GB.
Download and install the Band-in-a-Box program
There are a couple of different options for downloading all the content installer files (detailed below), but you should know that the most important file you need to download is the first one on the list - "Band-in-a-Box and RealBand 20xx".

This file is relatively small and contains everything you need to install and run the main Band-in-a-Box program. You can start using Band-in-a-Box right away, even without having downloaded all of the additional 'RealTracks' content etc. See Running Band-in-a-Box for the first time.
Preparing to Download the rest of the files
Prior to downloading, decide on a drive and location to store the downloaded files and make sure you have enough hard disk space there. The complete download size is listed at the top of the Size column on your download page. To keep organized, you should create a folder that's separate from your other downloads. For example, go to your Downloads folder (hotkey: option+shift+L) and create a subfolder (e.g. "BBDownloads"). Also, note that you will need an additional 1.3 times the download size for installation, which can be on the same or a different hard disk. For example, if the download was 150 GB, you'll need another ~200 GB additional space for installation.
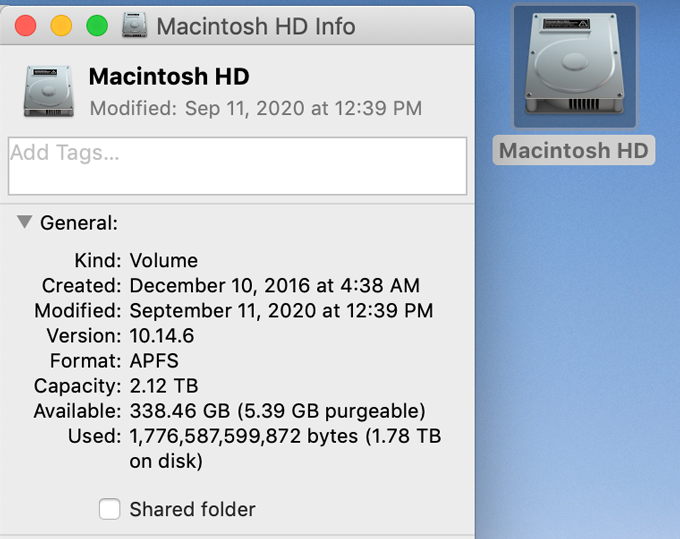
The default install location for Band-in-a-Box is the /Applications/Band-in-a-Box folder on your Mac hard drive, but it can also be installed and run from an external USB hard drive; the install folder on an external hard drive will also be /Applications/Band-in-a-Box. Make sure the hard drive you will be installing Band-in-a-Box to does NOT have a case sensitive file system. To confirm, click on the hard drive in Finder and press Command+I or go to File | Get Info. It should not say "case sensitive" beside the Format item.
Downloading the Band-in-a-Box content
You can download individual files directly from your browser window, however if you are downloading a large package (e.g. UltraPAK) this will be tedious. You can use a third party download manager. Currently, "Folx" is one of the best options, and is compatible with OS 9 and higher. Use the stand-alone app (not the browser extension).
- Open Folx (no need to activate link catching in browser, and can use Free mode). If there are existing completed tasks showing from before, you can select all by shift-clicking and select File menu | Delete.
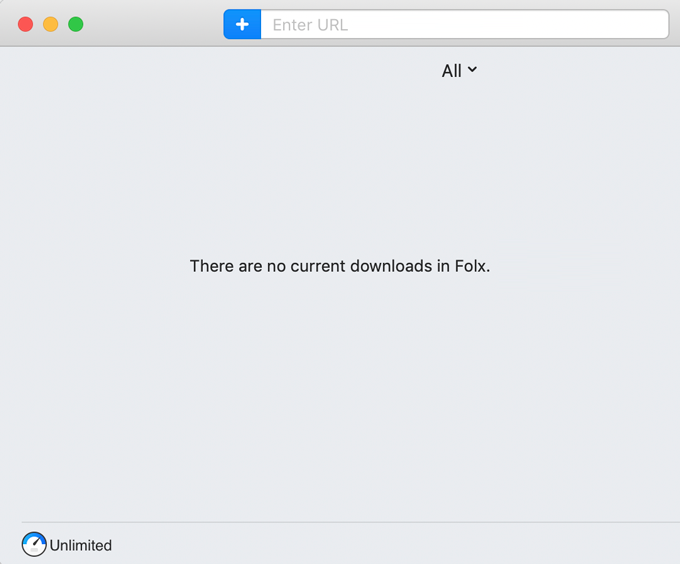 Open Folx Download Manager
 - Click on the "Copy links to clipboard" button on your 'My Products' page.
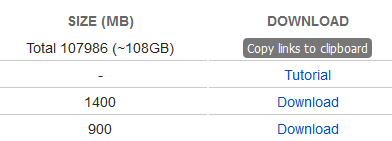 Click the Copy Links to Clipboard button
 - In Folx, press Command+V (Paste) or go to Edit | Paste, and then click the [Download] button
- In the following dialog, choose your download location, and press OK. This should add the tasks and begin the download. Note - if you've already downloaded the Band-in-a-Box program as suggested above, you don't need to download this file again so you can skip it / delete the task.
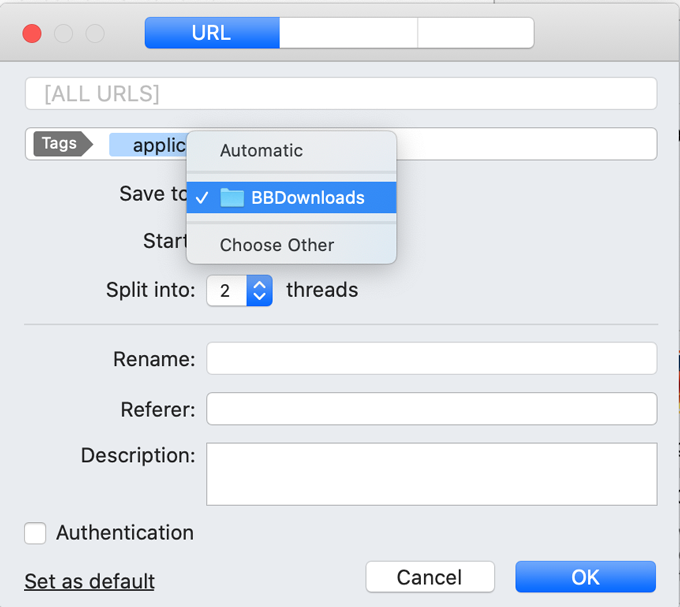 Paste, then choose your download folder.
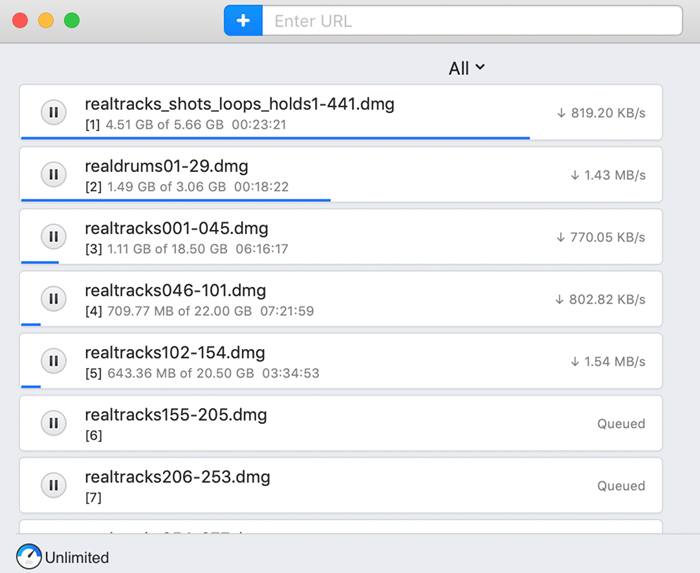 Folx - download progress
The length of time the download takes depends mainly on how fast your internet connection is, so varies widely. If you are curious, there are lots of websites that will test your download speed - e.g. Google search "internet speed test". As a ballpark, 3 hours with a fairly fast connection (100 mbps). Remember that you can still use the Band-in-a-Box program while the content is downloading, or you can set it to download overnight.
Installing the downloaded files
The install files are .pkg (packages) that are launched with Apple's installer program by double-clicking them. You should run one installer package at a time. If you have decided to install Band-in-a-Box to an external hard drive, make sure to select this hard drive (volume) in the "choose destination" screen of each installer. Installation FAQ
- Most of the large content/RealTracks is downloaded as large .DMG (disk image) files. Once downloaded, you double-click to mount the .DMG. It should quickly appear as an icon on your desktop. Troubleshoot dmg mounting problems.
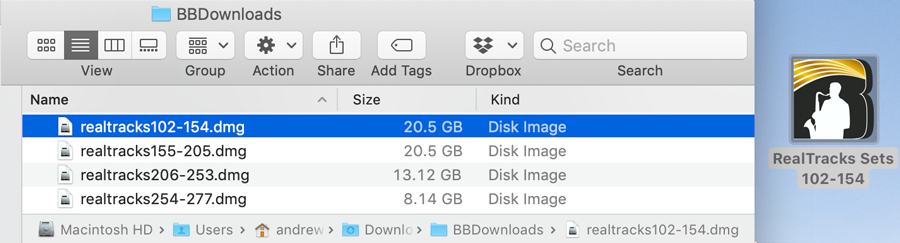 Mounting downloaded disk images (dmg files).
 - Open the disk image contents by double-clicking the desktop icon.
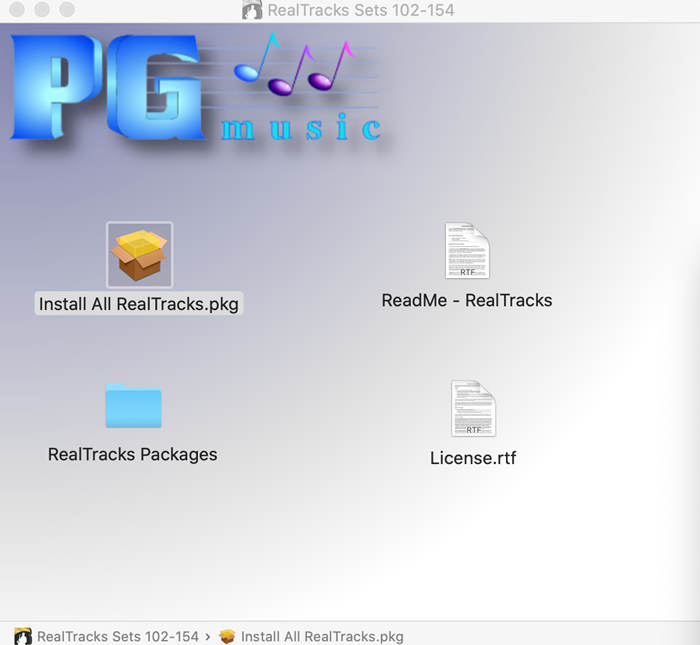 Open disk image.
 - Run the installer package (.pkg), making sure to choose the correct destination volume. Once finished, you can close and 'unmount' the .dmg by selecting it and pressing Command+E or dragging to the trash (this does not delete the actual .dmg file, just unmounts the volume)
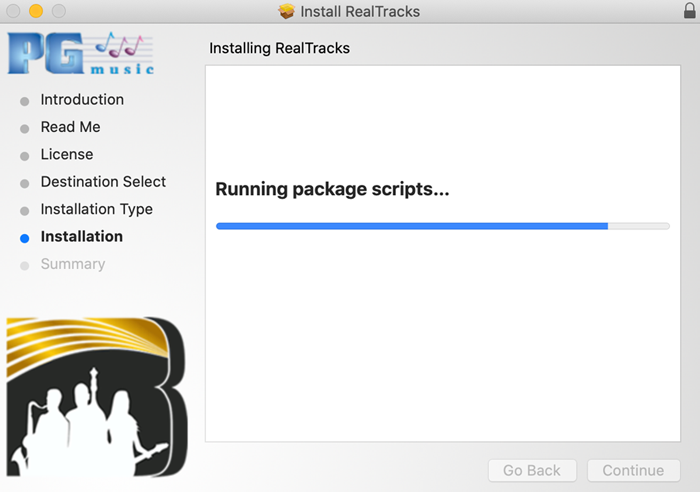 Run the installer package.
Unconditional 30-Day Money Back Guarantee on all PG Music products purchased from PG Music Inc.
PG Music Inc.
29 Cadillac Ave Victoria BC Canada V8Z 1T3
Sales: 800-268-6272, 250-475-2874,+ 800-4746-8742*
* Outside USA & Canada where International Freephone service is available.
Access Codes
Tech Support: Live Chat, support@pgmusic.com
 Online now
Need Help?
Customer Sales & Support
|
Phones (Pacific Time) 1-800-268-6272 1-250-475-2874 |
||
| Live Chat | ||
| OPEN | Online Ordering 24/7 |
|
| OPEN | Forums, email, web support |