
Band-in-a-Box® Hard Drive Troubleshooting Tips
Every Band-in-a-Box® hard drive is tested and operating properly when it leaves our building. You should be able to plug it in to any available USB port and start using Band-in-a-Box®. If you are having trouble, we hope that these troubleshooting tips will get you up and running quickly and easily.
Some other frequently asked questions about the hard drives are answered in our (Windows) Band-in-a-Box® hard drive FAQ
If you plug your Band-in-a-Box® hard drive in and your computer doesn't see it, try the steps below.
Does your hard drive look different than the images on this page? Click here to view the tutorial for your enclosure.
Last updated: Thursday, 08 November 2018
1. Plug the Band-in-a-Box® hard drive into a different computer (if possible).
If it shows up, then it's working. You can try resetting the usb ports on the computer that couldn't see the drive.
To do this, follow the steps in tip #8.
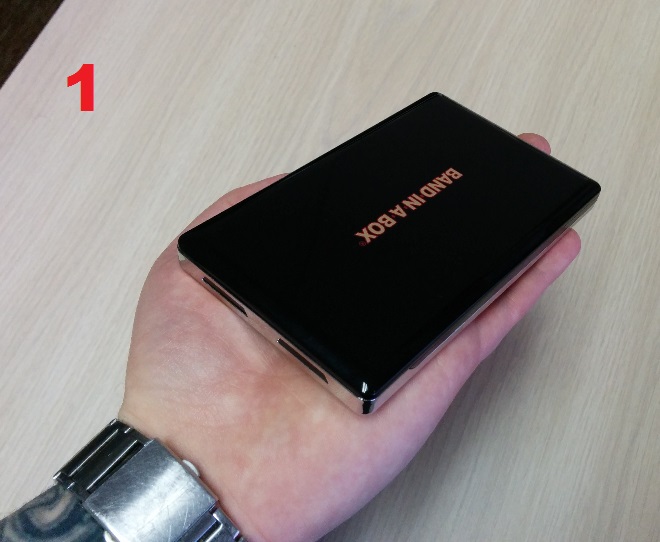
2. Sometimes the hard drive comes loose in its case (enclosure) during shipping.
Step 1. Place the hard drive flat on your left hand, with the cable facing away from you.
Step 2. Put your right hand on top of the hard drive, and slide your right hand away from your body.
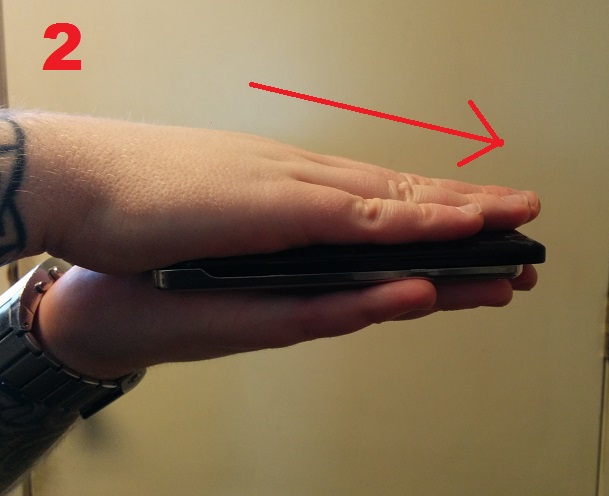
Steps 3 and 4. The hard drive enclosure should slide apart about half an inch,

and you should then be able to pry it open with your fingers.
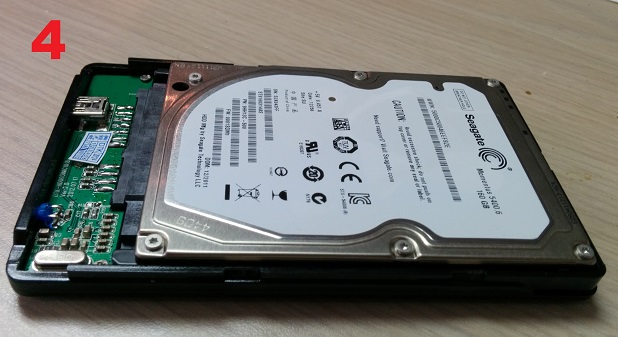
Step 5. One end of the hard drive will be connected to the enclosure, but the other end will be free, and should be able to swing out far enough for you to grab it. You may be need to flip it over and give it a little shake.
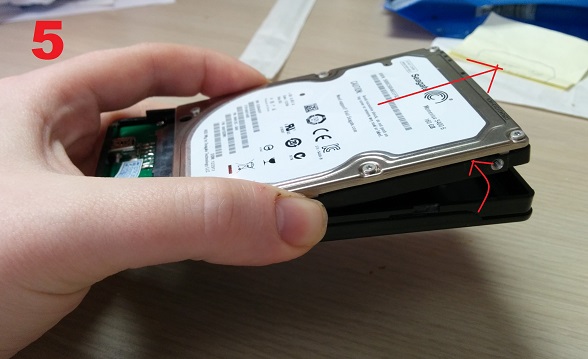
Step 6. Once one end is free, you should be able to pull lengthwise on the hard drive to disconnect it.
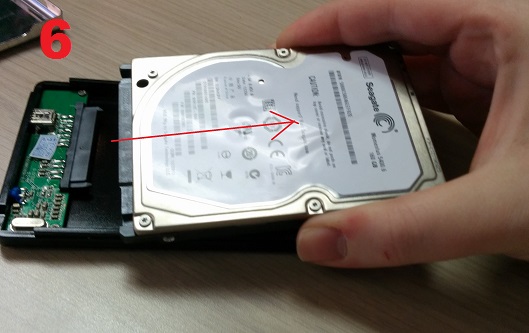
Once you've done all this, re-connect the hard drive, assemble the enclosure, and try plugging it into your computer.
3. Try plugging the device into different USB ports on your computer.
On desktop computers, there are ports on both the front and rear panels. The rear USB ports sometimes have more power to run the drive. Try plugging in using both ends of the double-ended usb cable supplied.
4. Test with a different USB cable.
If the drive works with another cable we will replace the one that was shipped with the hard drive.
5. For Laptops/Notebooks, check sure your Power Scheme
If you have a portable computer, check to make sure your Power Scheme is set to the highest performance for both battery and plugged in modes, in the Control Panel of your computer.
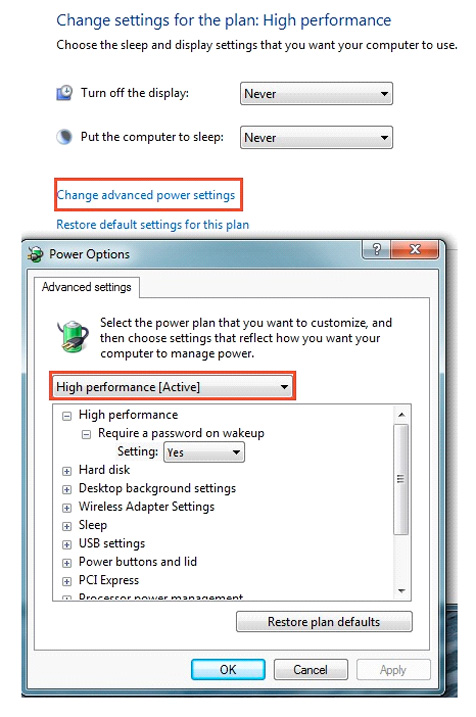
On Windows computers, go to Start --> Control Panel --> Power Options, and choose High Performance.
Change settings for the plan: High Performance, and choose the sleep and display settings that you want your computer to use.
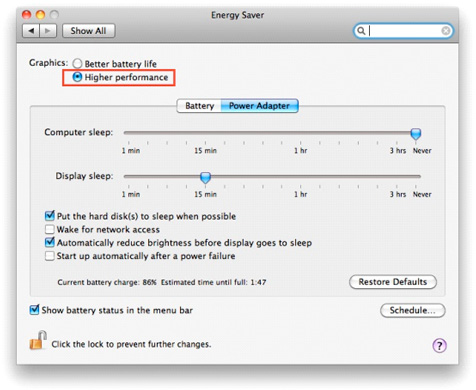
On a Mac, you can find the same types of options in Apple --> System Preferences --> Energy Saver.
6. If you are using a USB hub, try bypassing it
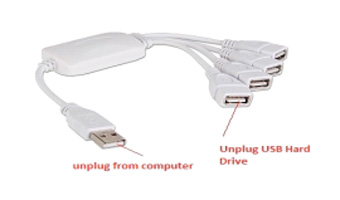
If you have the hard drive plugged in to a USB hub, try bypassing the USB hub and plugging the hard drive directly into the computer with the provided USB Cable instead.
7. Consider using a *powered* USB hub
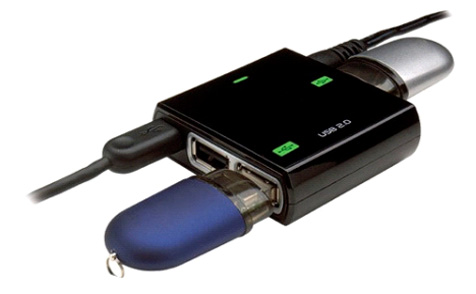
If you happen to have a lot of 'power-hungry' USB devices, you might consider purchasing USB hub. Buy one that plugs into the wall; that way you won't be trying to draw too much power from the usb ports on your computer.
8. Reset the USB ports on your Desktop or Laptop computer.
To do this, unplug the USB Hard Drive then power the computer off as shown below:
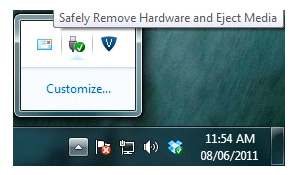
a) Right click on the icon with the green checkmark and select "safely remove hardware"
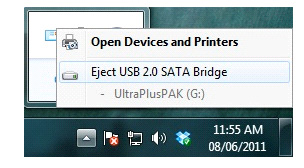
b) Eject the Band-in-a-Box® USB hard drive.
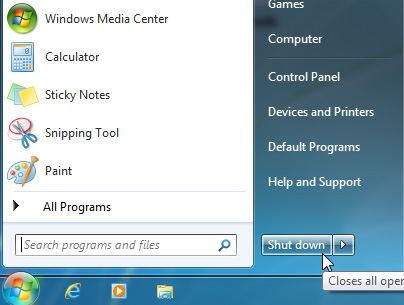
c) Shut down the computer.
d) Turn off the power supply.
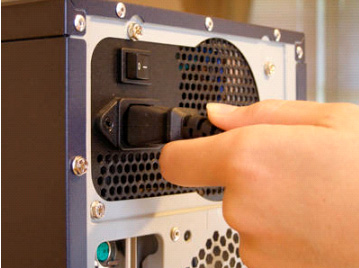
Desktop Computers: Switch the power button on the back of the computer to the off position. The Power Supply button is usually located right near the power cable. Next, unplug the power cable (see image below) from the back of the computer. Wait one minute. Plug in the power cable; turn the power switch to the on position to restart your computer. Plug in the Band-in-a-Box® hard drive.
Laptop Computers: Shut down the laptop completely, unplug it from the wall, and then remove the battery if accessible. Wait 1 minute
Plug-in the power cable or insert the battery and restart your computer. Plug in the Band-in-a-Box® hard drive.
Note: This is an important troubleshooting step! It may seem overly cautious to remove the power cable and/or battery in addition to powering off the computer, but some parts of a computer, including the usb ports, remain powered even when the computer has been turned off.
Unconditional 30-Day Money Back Guarantee on all PG Music products purchased from PG Music Inc.
PG Music Inc.
29 Cadillac Ave Victoria BC Canada V8Z 1T3
Sales: 800-268-6272, 250-475-2874,+ 800-4746-8742*
* Outside USA & Canada where International Freephone service is available.
Access Codes
Tech Support: Live Chat, support@pgmusic.com
 Online now
Need Help?
Customer Sales & Support
|
Phones (Pacific Time) 1-800-268-6272 1-250-475-2874 |
||
| Live Chat | ||
| OPEN | Online Ordering 24/7 |
|
| OPEN | Forums, email, web support |